

You’ve spent time waxing your car to give it that perfect shine, but now there’s dried wax left behind, making your paint look dull and uneven. Removing dried wax might seem tricky, but it doesn’t have to be a hassle.
You’ll discover simple and effective ways to get rid of that stubborn wax without damaging your car’s finish. Keep reading, and you’ll learn easy steps that will restore your car’s smooth, glossy look in no time.
Credit: www.detailedimage.com
Tools And Materials Needed
Removing dried wax from your car’s surface demands the right tools and materials. Having everything prepared before you start saves time and prevents damage. The key is to use items that clean effectively without scratching your paint.
Cleaning Cloths And Towels
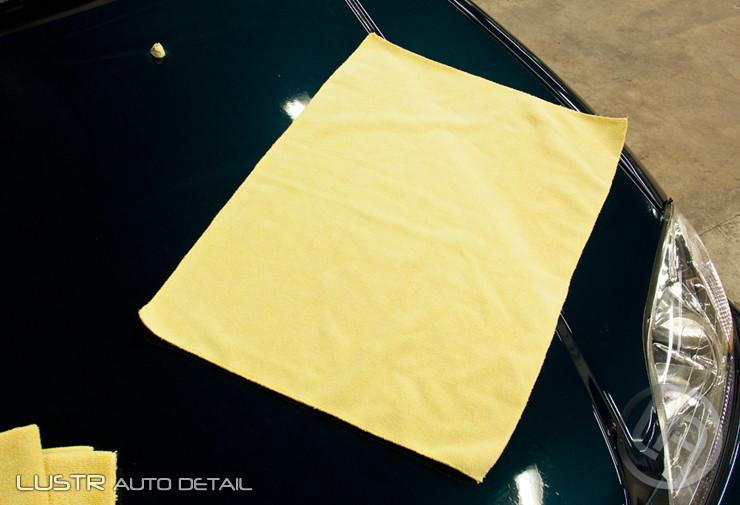
Soft, lint-free cloths are essential. Microfiber towels work best because they trap wax residue without scratching. Avoid rough fabrics; even a slight abrasion can harm your car’s finish.
Keep several cloths handy—one for applying wax remover, another for wiping, and a fresh one for buffing. This stops cross-contamination and ensures the surface stays clean throughout the process.
Wax Removers And Solvents
Choose a wax remover formulated specifically for automotive finishes. These products dissolve wax without stripping the paint. Some household solvents might seem tempting but can damage your car’s surface.
Test the remover on a small, hidden area first. This helps you confirm it’s safe and effective. Also, consider environmentally friendly options if you prefer less harsh chemicals.
Plastic Scrapers And Brushes
Plastic scrapers are great for gently lifting hardened wax without scratching. Avoid metal tools as they can leave permanent marks. Use a scraper with a rounded edge to protect your paint.
Soft brushes can help remove wax from tight spots like trim or around badges. A toothbrush with soft bristles or a dedicated detailing brush works well. Using the right tool makes a tough job much easier and safer for your car.

Credit: www.oreillyauto.com
Preparing Your Car Surface
Clean the car surface with water and mild soap to remove dirt and grime. Dry it completely to avoid water spots before removing dried wax.
Preparing your car’s surface is an essential step to effectively removing dried wax and maintaining your vehicle’s shine. It sets the stage for a smooth and scratch-free finish. Taking a few extra minutes to prepare properly can save you from headaches down the road.
Washing The Car Thoroughly
Begin by washing your car thoroughly. Use a mild car detergent and a soft sponge to ensure all dirt and debris are removed. Dirt left on the surface can scratch your paint when you start removing the wax. Rinse your car with clean water, ensuring no soap residue remains. Pay extra attention to areas with grooves and curves, as these can trap dirt. A clean surface is key to avoiding unwanted scratches.
Drying The Area Completely
After washing, it’s crucial to dry the area completely. Use a microfiber towel to gently pat the surface dry. This helps to avoid water spots that can interfere with wax removal. Make sure there’s no moisture left, especially in crevices and around trims. Moisture trapped in these areas can dilute the effectiveness of your wax removal products. Can you imagine spending time removing wax only to have moisture cause streaks? Preparing your car surface might seem like an extra step, but it’s a straightforward process that enhances your results. So, are you ready to tackle that stubborn dried wax with confidence?
Softening The Dried Wax
Softening dried wax on your car is an essential step before you attempt to remove it. If you try to scrape it off while it’s hard, you risk scratching your paint. Softening the wax makes the removal process smoother and safer for your vehicle’s surface.
Using Warm Water And Soap
Start by mixing warm water with a mild car soap or dish detergent. The warm water helps loosen the wax’s grip on the paint, while the soap cuts through the wax’s oily layers.
Use a soft cloth or sponge to gently apply the soapy water to the waxed area. Let it sit for a few minutes—this waiting period is crucial for softening the hardened wax.
After soaking, try wiping the wax gently. You’ll often find it easier to remove without scrubbing aggressively. Have you noticed how simple steps like this save time and protect your car’s finish?
Applying Heat With A Hair Dryer
A hair dryer is a handy tool to soften dried wax quickly. Hold it a few inches away from the waxed spot and move it in slow circles to evenly warm the wax.
Heat makes the wax more pliable, so it won’t crack or flake when you wipe it off. Make sure not to hold the dryer too close to avoid overheating the paint.
Once the wax feels soft, use a microfiber cloth to wipe it away in gentle, circular motions. You might be surprised at how much easier this makes the job compared to scraping cold wax.
Removing Wax Residue
Removing wax residue from your car can be a bit tricky, especially when it has dried and hardened. Leftover wax not only dulls your car’s shine but can also attract dirt and grime. Tackling this residue carefully ensures your car’s paint stays smooth and glossy without damage.
Manual Scraping Techniques
Start by gently scraping off dried wax using a plastic scraper or an old credit card. Avoid metal tools, as they can scratch your paint. Work slowly and carefully, lifting the wax in small sections.
If the wax is stubborn, soften it first by applying a warm, damp cloth for a few minutes. This makes scraping easier and reduces the risk of scratching. Have patience; rushing can lead to damage that takes longer to fix.
Using Wax Remover Products
Specialized wax remover sprays or liquids can break down hardened wax quickly. Apply the product as directed, usually by spraying it onto the residue and letting it sit for a few minutes. This helps dissolve the wax without harsh scrubbing.
After the wax softens, wipe it away with a microfiber cloth using gentle circular motions. Always test the product on a small area first to ensure it won’t affect your car’s paint. Have you noticed how some removers leave a cleaner surface than others? Choose one that suits your car’s finish.
Buffing The Surface
Once the wax residue is removed, buff your car’s surface to restore its shine. Use a clean, soft microfiber towel or a buffing pad attached to a low-speed polisher. Move in small, overlapping circles to evenly polish the area.
Buffing removes any leftover haze and smooths the paint’s surface. It also helps blend the cleaned spots with the rest of the car’s finish. Think of it as the final touch that brings back your car’s vibrant look.
Final Touches For A Spotless Shine
After removing dried wax, the car surface may look dull or uneven. Final touches bring back the shine and smoothness. These steps protect the paint and enhance the car’s appearance. Take time to polish and re-wax the surface carefully. The results will be a spotless, glossy finish that lasts.
Polishing The Car Surface
Polishing removes tiny scratches and smooths the paint. Use a clean microfiber cloth and a gentle polish product. Work in small sections, rubbing in circular motions. Avoid pressing too hard to prevent damage. Polishing makes the surface even and shiny. It also prepares the paint for waxing by cleaning away leftover residue.
Applying A Fresh Coat Of Wax
Waxing protects the paint and adds a deep shine. Choose a quality car wax suitable for your vehicle. Use a foam applicator or soft cloth to apply a thin, even layer. Let the wax dry to a haze, usually a few minutes. Buff the surface gently with a clean cloth until the shine appears. This step seals the paint and keeps it glossy longer.
Preventing Future Wax Build-up
Preventing future wax build-up on your car saves you time and keeps your vehicle looking fresh longer. It’s all about smart habits and choosing the right products that work well with your car’s surface. Small changes in how you care for your car can make a big difference in avoiding stubborn, dried wax patches.
Regular Car Maintenance Tips
Keep a consistent cleaning schedule. Washing your car every two weeks prevents dirt and wax residue from settling and hardening on the surface.
Use a gentle car wash soap that won’t strip away protective layers but will remove old wax and grime. Avoid harsh detergents that can damage paint.
After washing, dry your car thoroughly with a soft microfiber towel to prevent water spots, which can trap wax particles and create build-up.
Have you checked your car’s surface for wax residue during your wash? A quick inspection helps catch build-up before it becomes difficult to remove.
Choosing The Right Wax Products
Not all waxes are created equal. Pick waxes designed for your car’s paint type—some products are too thick or harden quickly, causing build-up.
Look for synthetic or liquid waxes if you want easy application and removal. These often leave less residue and are less likely to dry out and stick.
Test a small area first before applying wax all over. This helps you see how the wax reacts and whether it’s easy to buff off without leaving residue.
Consider your climate too. In hot, sunny areas, choose waxes with UV protection that won’t bake onto your paint and cause tough-to-remove build-up.

Credit: www.youtube.com
Frequently Asked Questions
How Can I Safely Remove Dried Wax From My Car?
Use warm water and a microfiber cloth to soften the wax. Gently rub the area in circular motions. Avoid harsh chemicals to prevent paint damage. Finish by washing and drying the car to remove residue.
What Household Items Remove Dried Car Wax Effectively?
Warm soapy water, rubbing alcohol, or vinegar diluted with water work well. Apply gently with a soft cloth to avoid scratching. Test on a small area first to ensure no paint damage occurs.
Can I Use Heat To Remove Dried Wax On My Car?
Yes, use a hairdryer on low heat to soften wax. Keep the dryer moving to avoid overheating paint. Once softened, wipe away wax carefully with a microfiber cloth.
How Long Should I Wait Before Removing Wax From My Car?
Wait at least 30 minutes to an hour after application. This allows wax to harden properly for easier removal. Avoid waiting too long to prevent buildup and difficulty cleaning.
Conclusion
Removing dried wax from your car is easier than it seems. Use gentle tools and simple solutions to avoid damage. Take your time and work carefully for best results. Clean the area well after removing the wax. Regular washing helps prevent wax buildup in the future.
Keep your car looking fresh and shiny with these tips. Small efforts make a big difference in car care. Try these steps and see the clear, smooth finish return.